Skip to content

PBI Setup

How to start with Archy from an empty project ? How to start managing your product backlog from scratch ? Here is where you will find all details needed to start

Welcome to Archy!

This tutorial will guide you on how to setup your project in Jira and how to start using Archy. 

We will not describe how to add Archy to your Jira space, as this is described in our tutorial that you can find HERE.

For beta users, how to install Archy in Jira tutorial can be found HERE.

Start your project

When you have created you Jira account and chosen your name for your Jira space, there are several ways that you can initiate project creation. 

From “Projects” menu you can always start and create new project, but there are also other options as well.


Project template

In Jira you can select pre-defined project template. Template will have pre-set certain elements that will speed up your setup process. If you are not a Jira expert this is suggested way. 

For the purposes of this tutorial we will select Scrum template. This is usually used for software development project but it can be used for any project that follows epic-story-subtask hierarchy and has fixed delivery cycles e.g. sprints.

Project management organisation

After selecting template, you will be given a choice of team managed or company managed projects. As we are doing quick setup, and we don’t have complicated organisational structure, we will select “company Managed” project.

Details...

Next thing is to name the project… and click “Next”

On next screen you can select different integration that Jira is offering out of the box. Integrations to Confluence, GitHub or other main stream tools are ready for you to use. In future tutorials we will see how can you increase your productivity by adding these integrations and how Archy can utilize them to help you improve your project

Empty project - a clean slate

Now we have an empty project, a clean slate for our new succesful journey !

Let's start with Archy

After you click on Archy menu link, Archy Dashboard will load. Here is where you can start with project setup. First thing after you open Archy dashboard you will be asked to define you issue types. Here you need to define your issue type hierarchy for “epic” issue types and “user story” issue types. 

When issue type setup is done, dashboard will load. At first there are not so many things on the dashboard, as there is still no project – no backlog items, no progress.

So first thing you will want to do, is start with project setup.

Project setup is started from the first card on the dashboard called “Next best action”. This is where Archy will display options for you based on status of the project.

Project setup will create initial Product Backlog Items (PBI). Based on your project description. It is important that project description has as much detail as possible. You should describe main project ideas, goals, specific conditions that you may find important, list milestones that you have identified so far. You should also provide information on who will benefit from your project and how you plan on measuring results and success.

If some details are currently unknown, don’t worry, you will be able to add them later as your project kicks off.

Example of short and detailed description

The proposed app aims to create a dynamic marketplace for buying and selling used clothing, promoting sustainability and affordability in fashion.

It will serve as a platform where users can easily list their pre-loved garments, discover unique finds, and engage in transactions directly with other users. Key features will include a user-friendly interface for listing items, advanced search filters for easy navigation, secure payment gateways, and a rating system to ensure trust and quality among users.

The app will cater to fashion enthusiasts looking for eco-friendly choices, bargain hunters, and individuals seeking to declutter their wardrobes responsibly.

By leveraging the power of community and technology, this app seeks to reduce textile waste and promote a circular fashion economy.


User Personas
The Eco-Conscious Shopper: Environmentally aware, this user prefers sustainable fashion choices and is interested in buying high-quality, used clothing to reduce their carbon footprint.

The Budget Fashionista: Looks for affordable fashion options without compromising on style. They are always on the lookout for deals and unique pieces to add to their wardrobe.

The Wardrobe Purger: Wants to declutter their closet in a responsible manner, seeking an easy and efficient way to sell or donate their gently used clothing.

Security and Regulatory Considerations
Data Protection: Implement robust data encryption and secure data storage to protect users’ personal and payment information.
User Verification: Incorporate a system for verifying user identities to minimize fraud and ensure the safety of transactions.
Payment Security: Use trusted payment gateways with PCI DSS compliance to handle transactions securely.
Legal Compliance: Adhere to e-commerce regulations and consumer protection laws, including the right to return goods and dispute resolution mechanisms.
Milestones in a Scrum Framework
Sprint 0: Planning and Setup (1-2 Weeks): Establish the project team, define the product backlog, and set up the development environment.

Development Sprints (2 Weeks Each): Focused development periods where the team works on user stories from the backlog, aiming to deliver a potentially shippable product increment at the end of each sprint.

Mid-Project Review (After 6 Sprints): Evaluate the project’s progress, incorporating feedback from early adopters, and adjust the roadmap as necessary.

Pre-Launch Phase (2 Sprints): Finalize the app for launch, focusing on user experience refinement, security enhancements, and regulatory compliance.

Launch and Post-Launch Sprints: Official release followed by additional sprints focused on refining the app based on broader user feedback and introducing new features.

Release Plan
Alpha Release: A closed testing phase with internal stakeholders to identify initial bugs and usability issues.
Beta Release: An open testing phase with a limited user base to gather feedback on app functionality and user experience.
Version 1.0: Official launch with core features based on insights gained from alpha and beta testing.
Iterative Updates: Post-launch, regularly release updates and new features based on user feedback and emerging market trends.
Detailed User Features
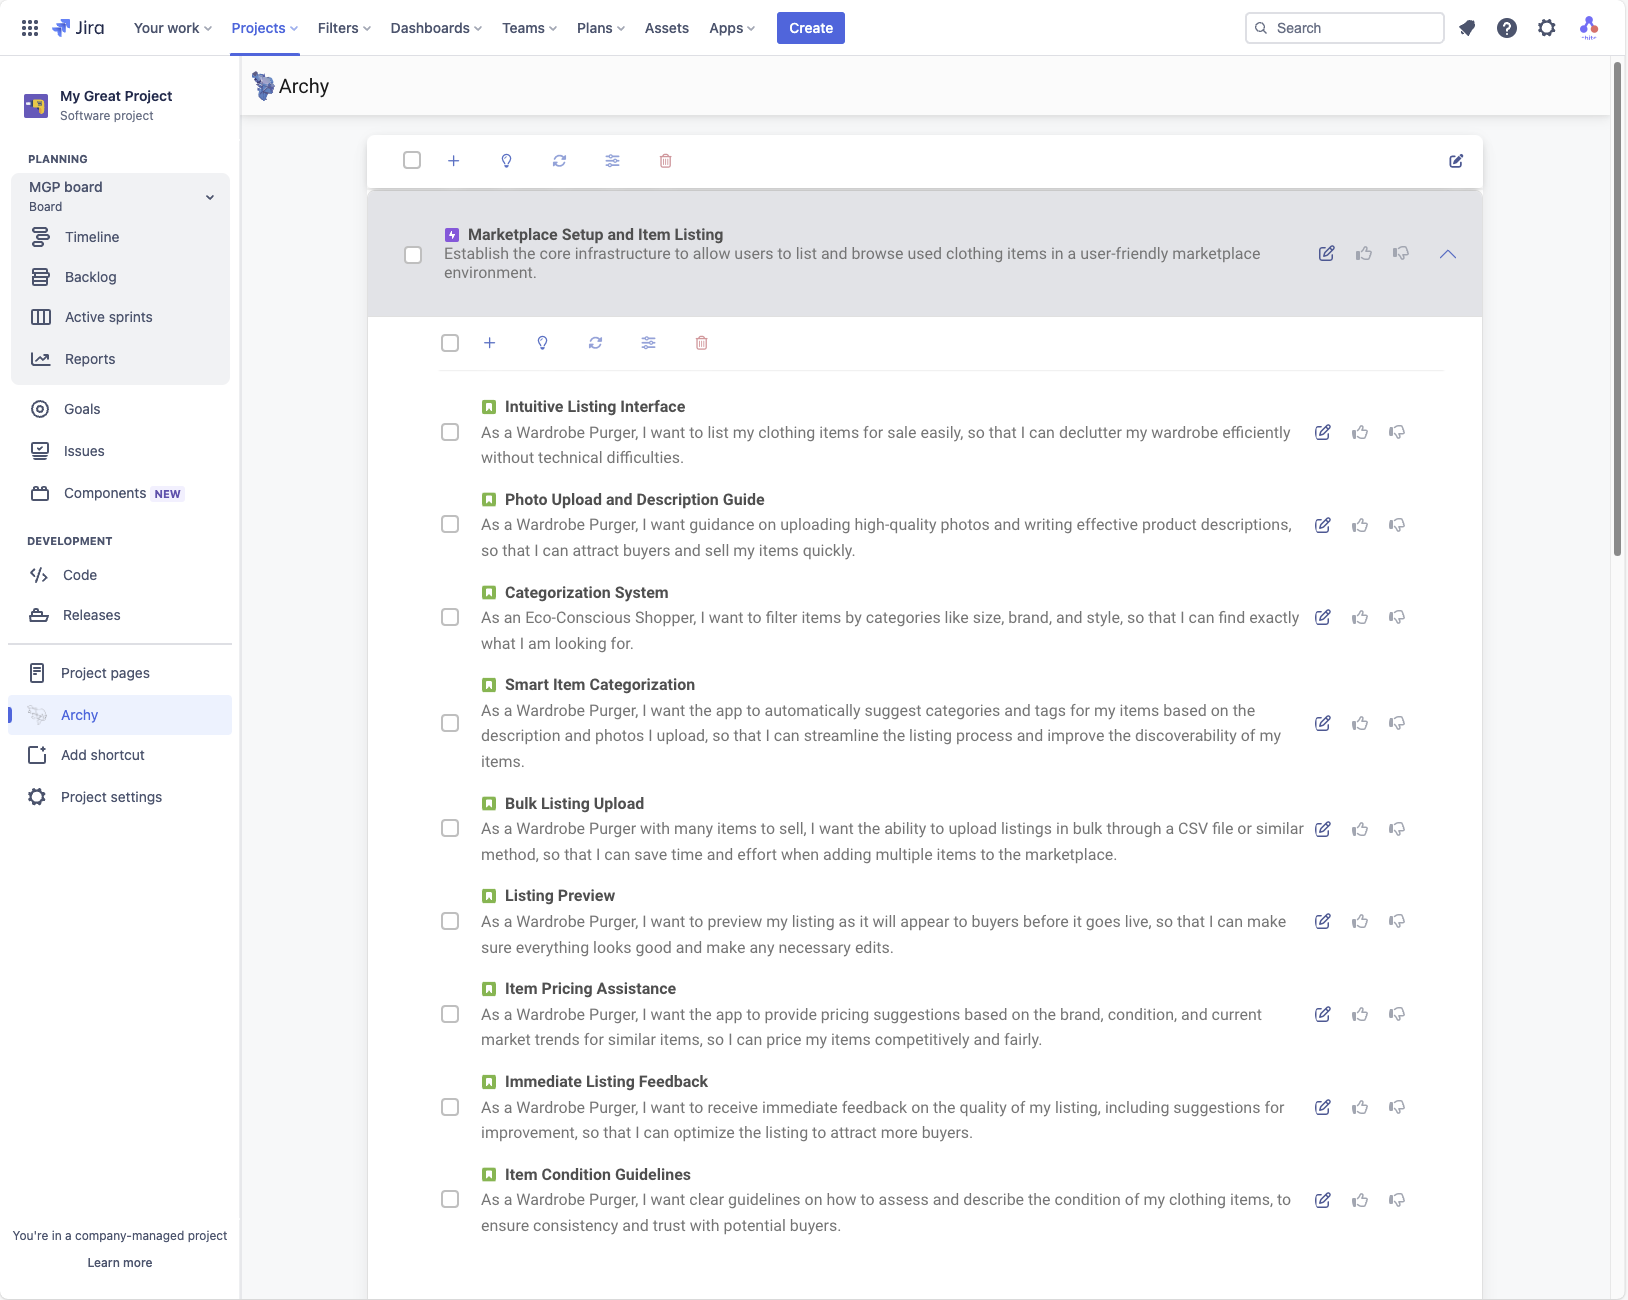
Intuitive Listing Process: Simplify the process of listing an item for sale with guided steps, including photo uploads, detailed descriptions, and categorization.

Advanced Search and Filters: Enable users to find exactly what they’re looking for through customizable search criteria, including size, brand, condition, and location.

Secure Messaging: Provide a secure platform for buyers and sellers to communicate directly without sharing personal contact information.

Payment and Shipping Integration: Streamline transactions with integrated payment solutions and shipping options, offering users a seamless buying and selling experience.

User Ratings and Reviews: Implement a system where users can rate and review transactions, promoting trust and transparency within the community.

Sustainability Tracking: Feature a dashboard for users to track their impact on the environment by choosing used clothing over new, quantifying savings in water, carbon emissions, and waste.

Personalized Recommendations: Use AI to offer personalized shopping recommendations based on users’ browsing and purchase history, enhancing the shopping experience.
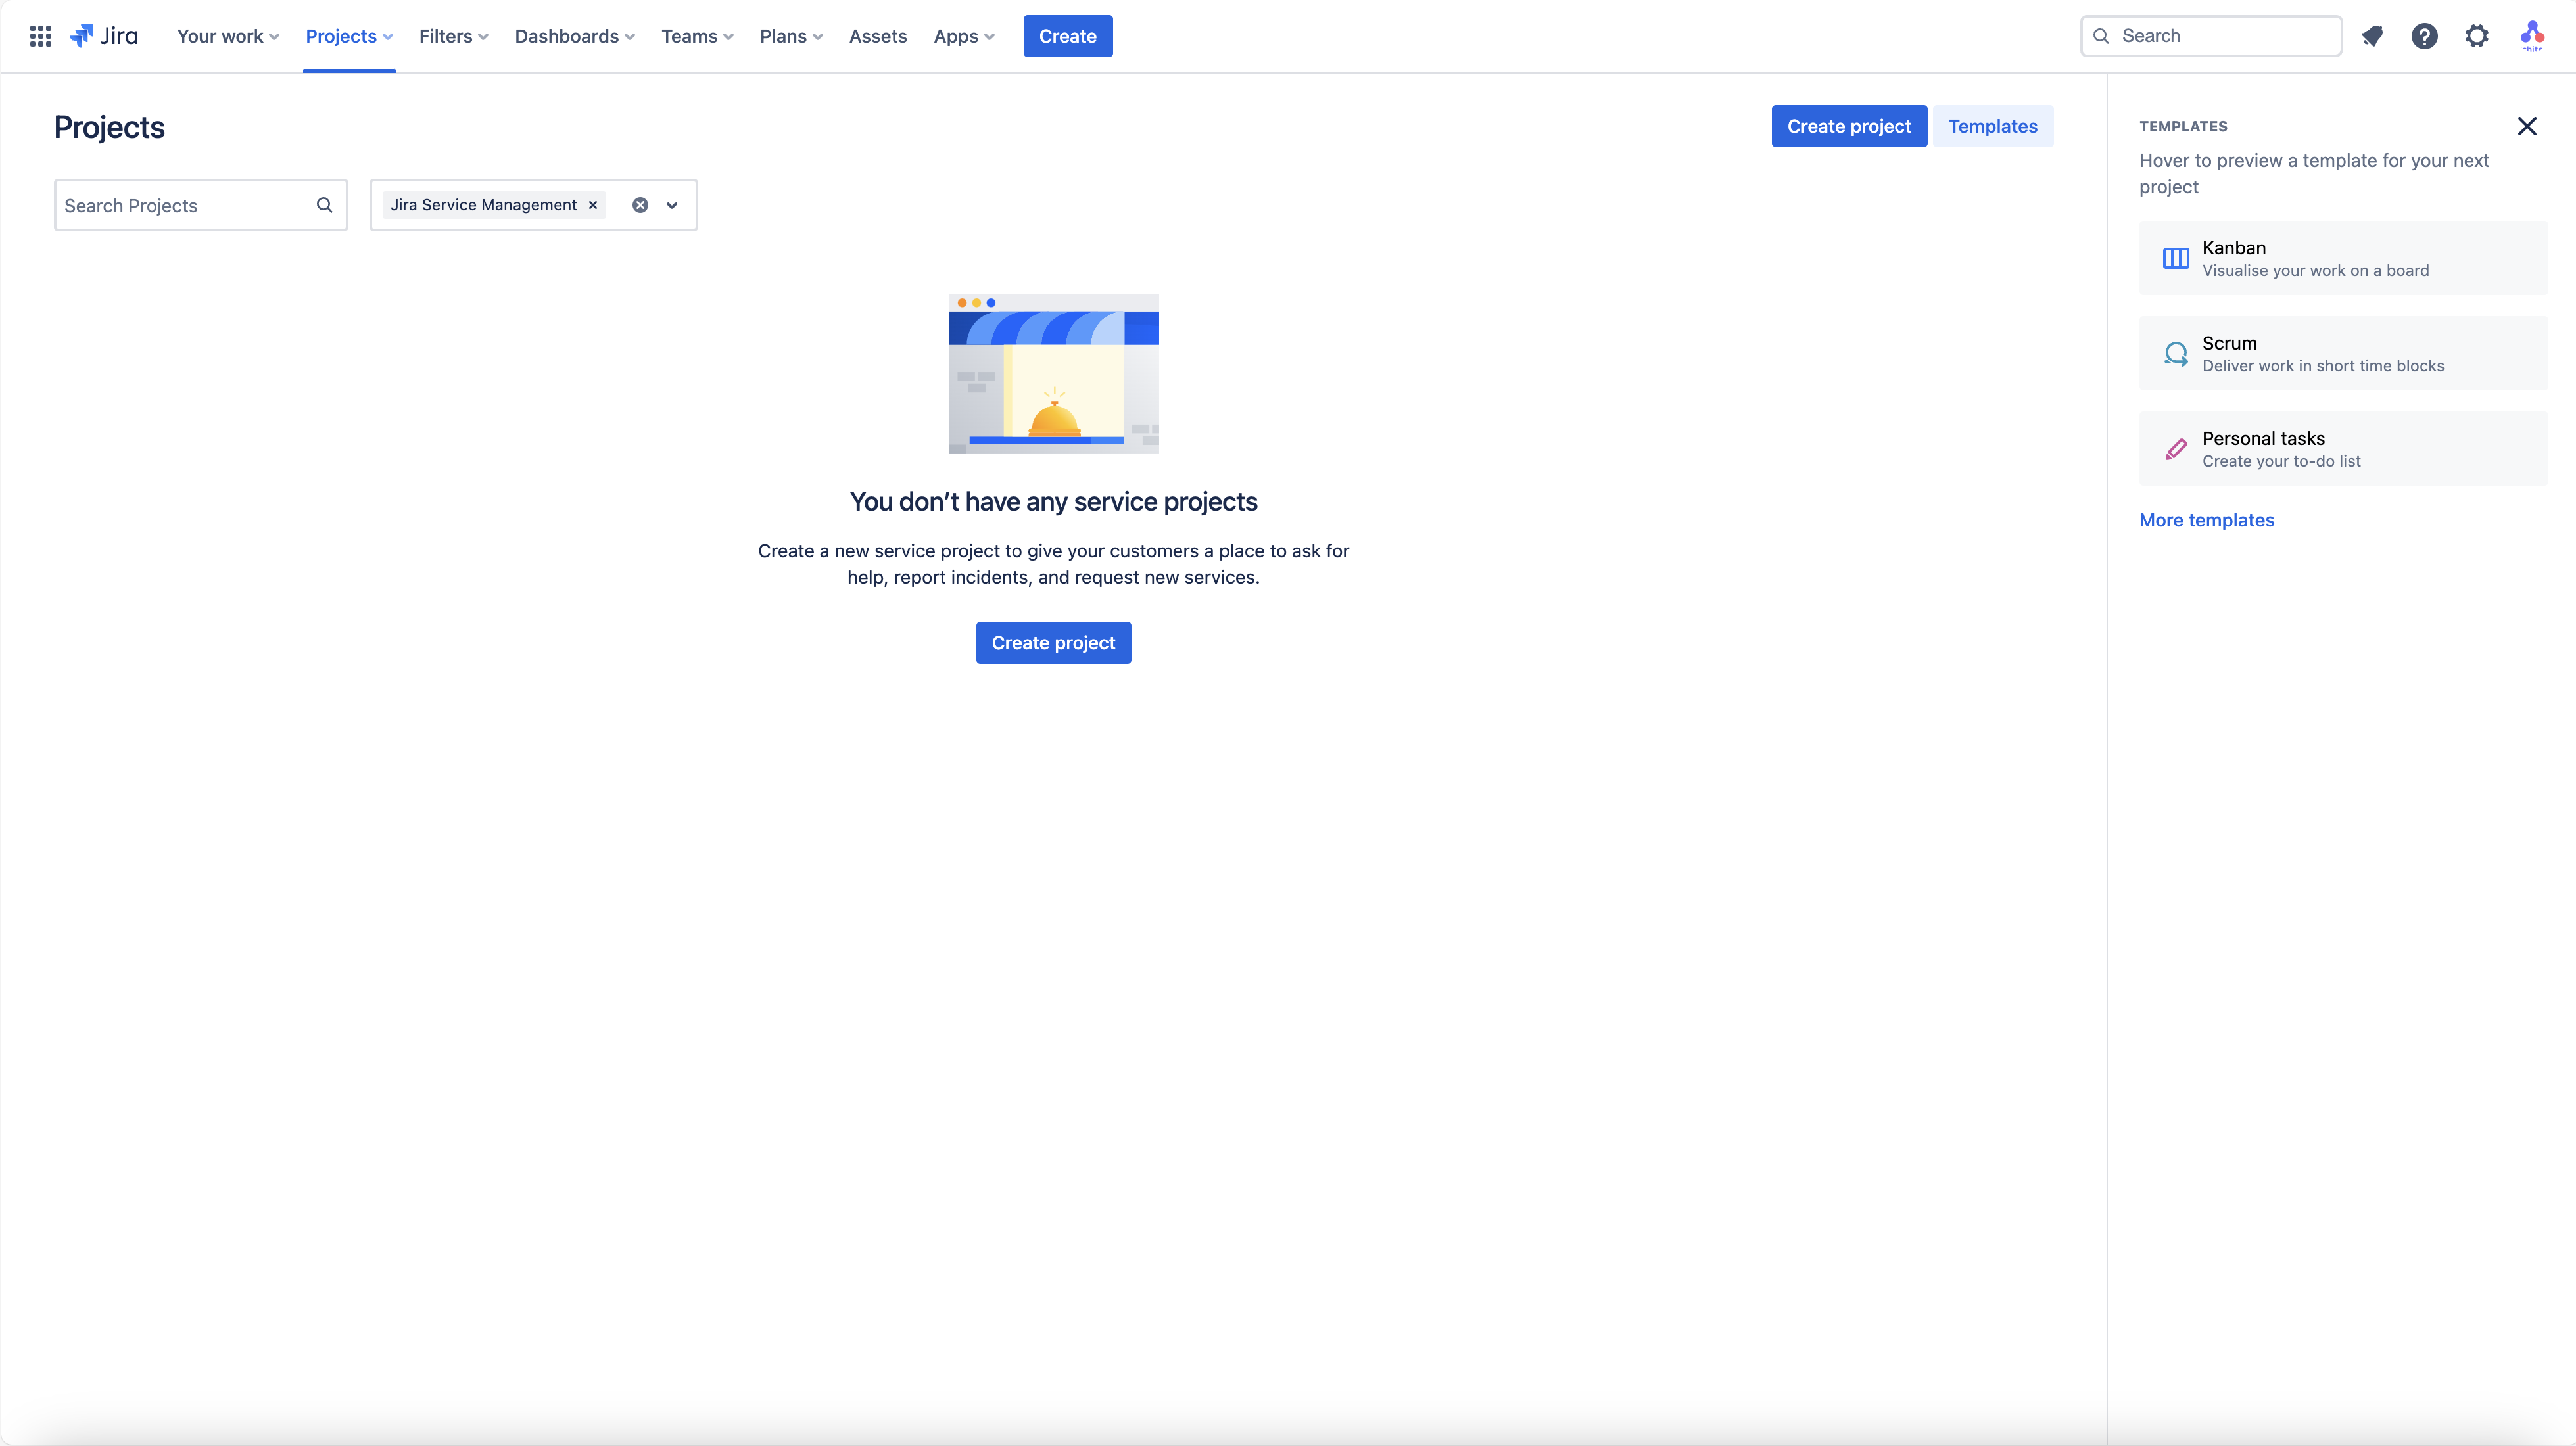
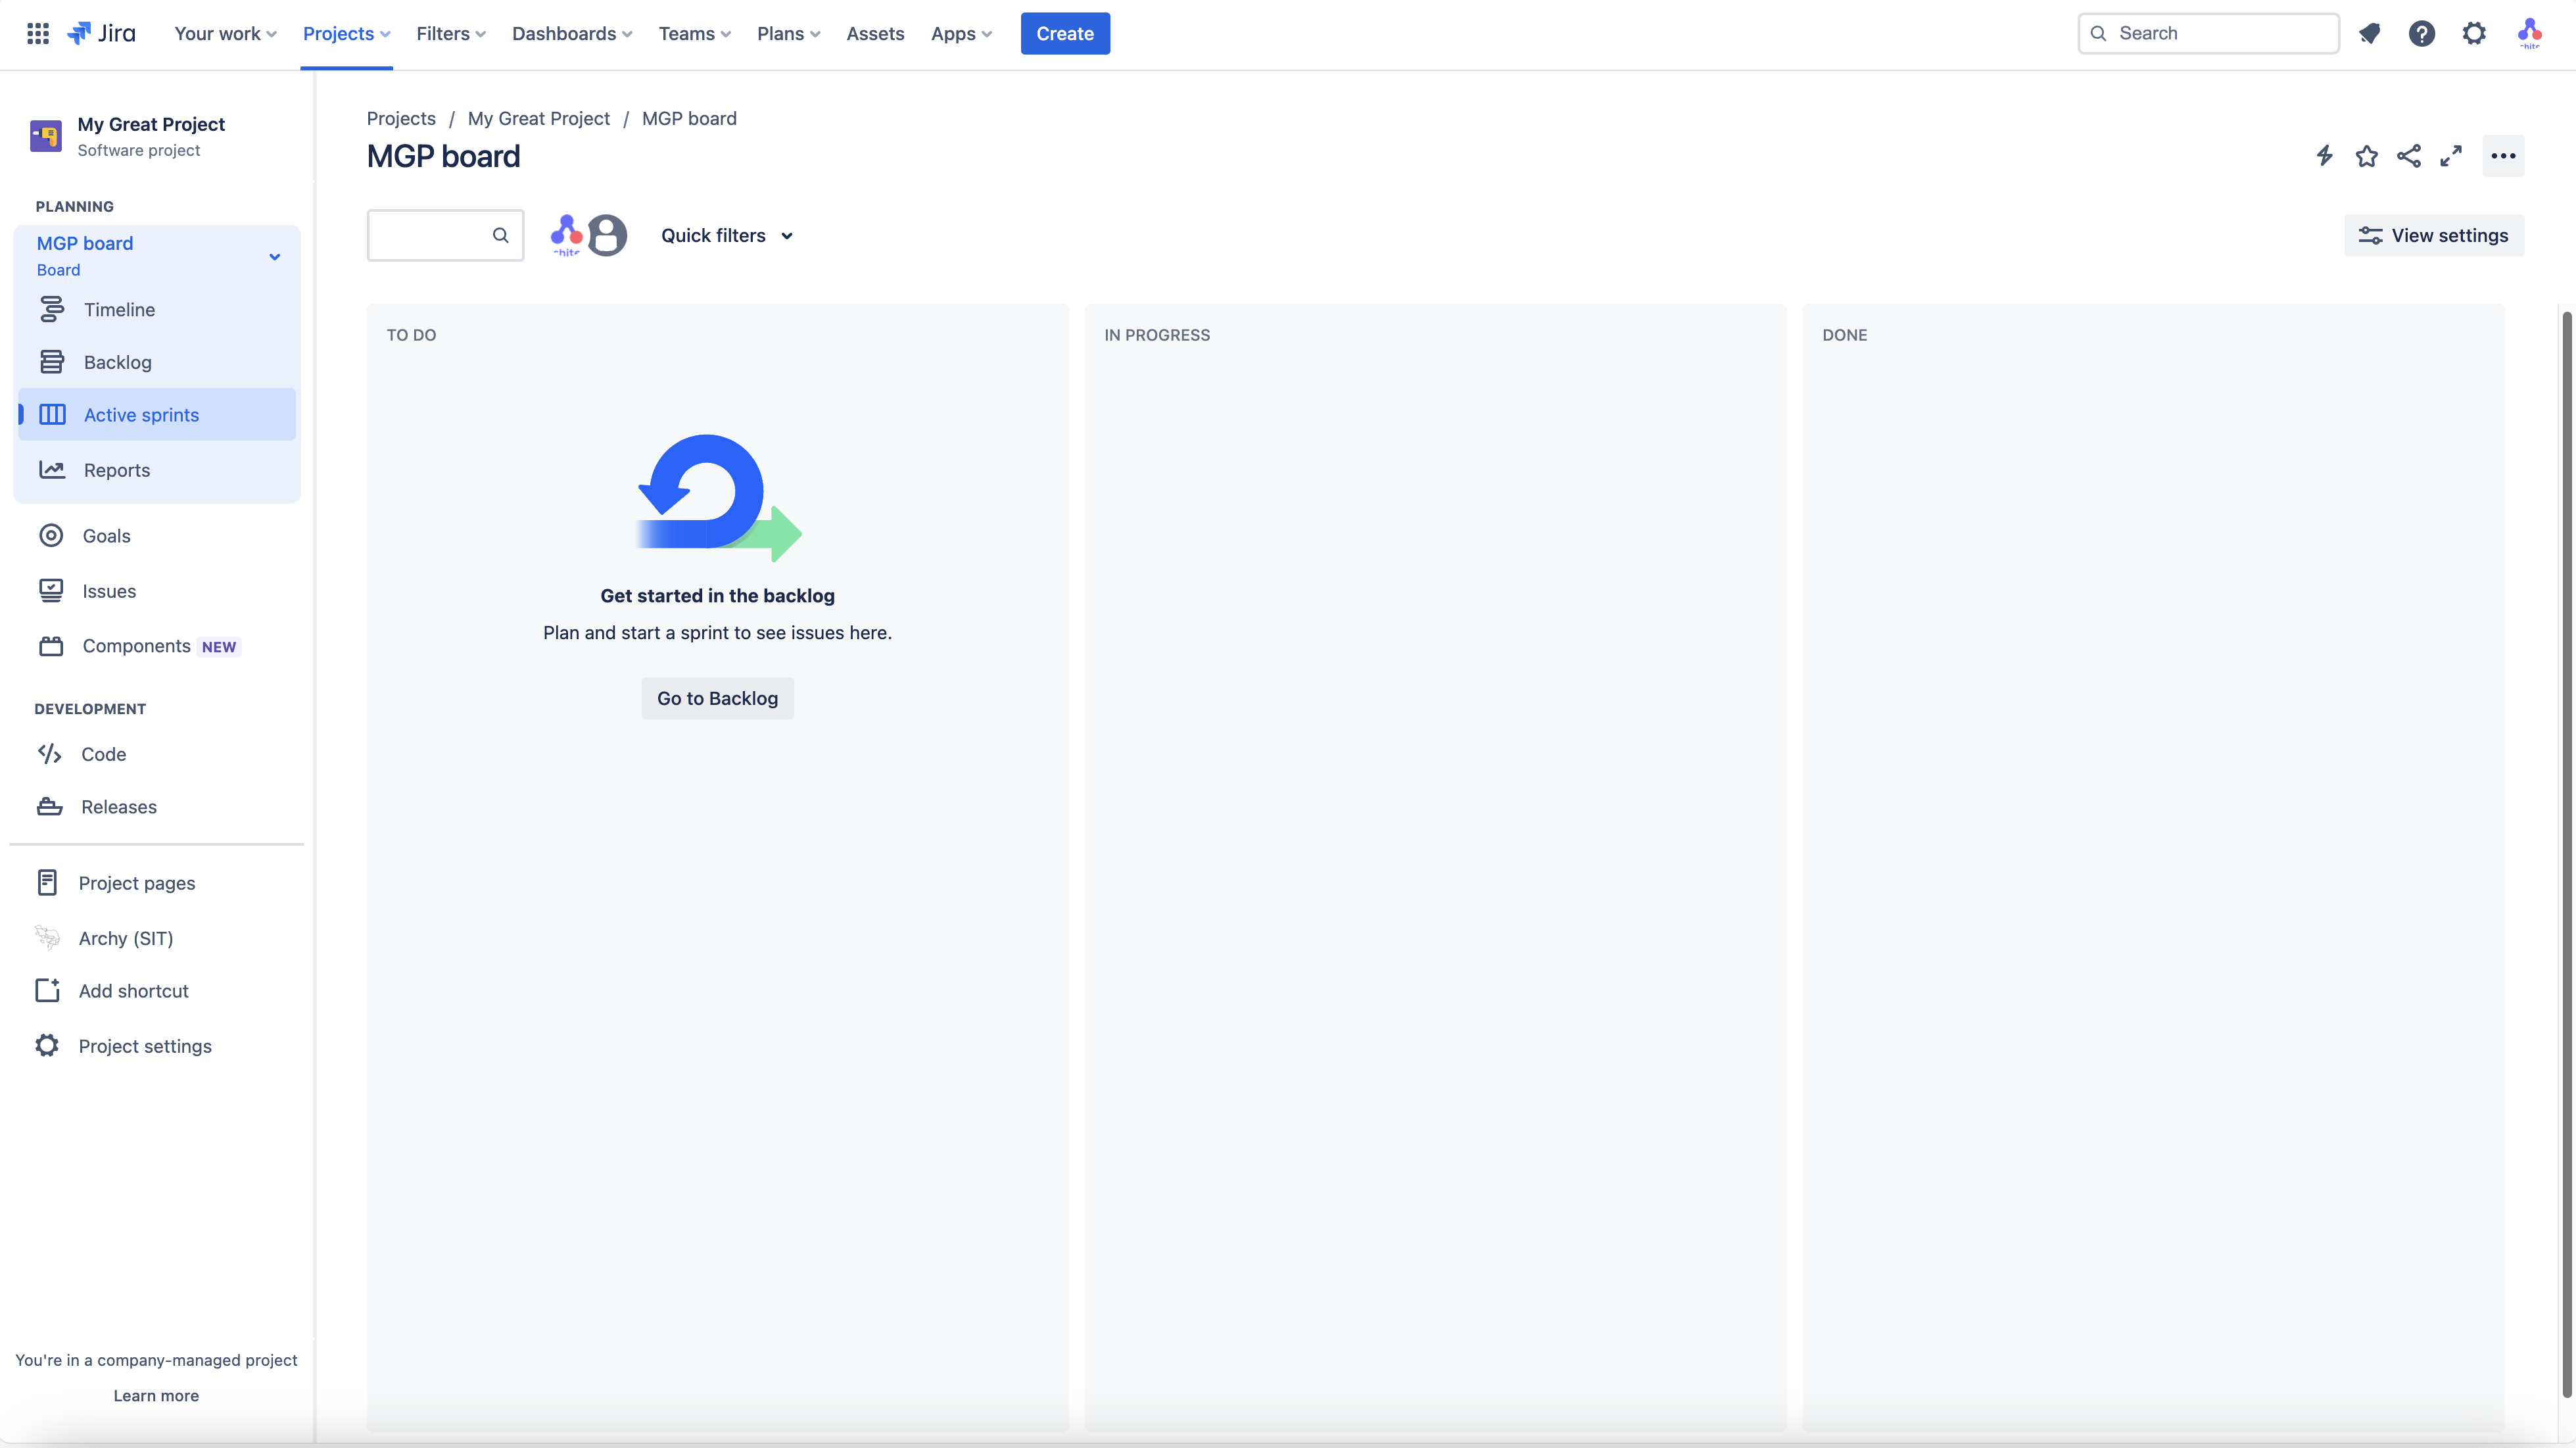
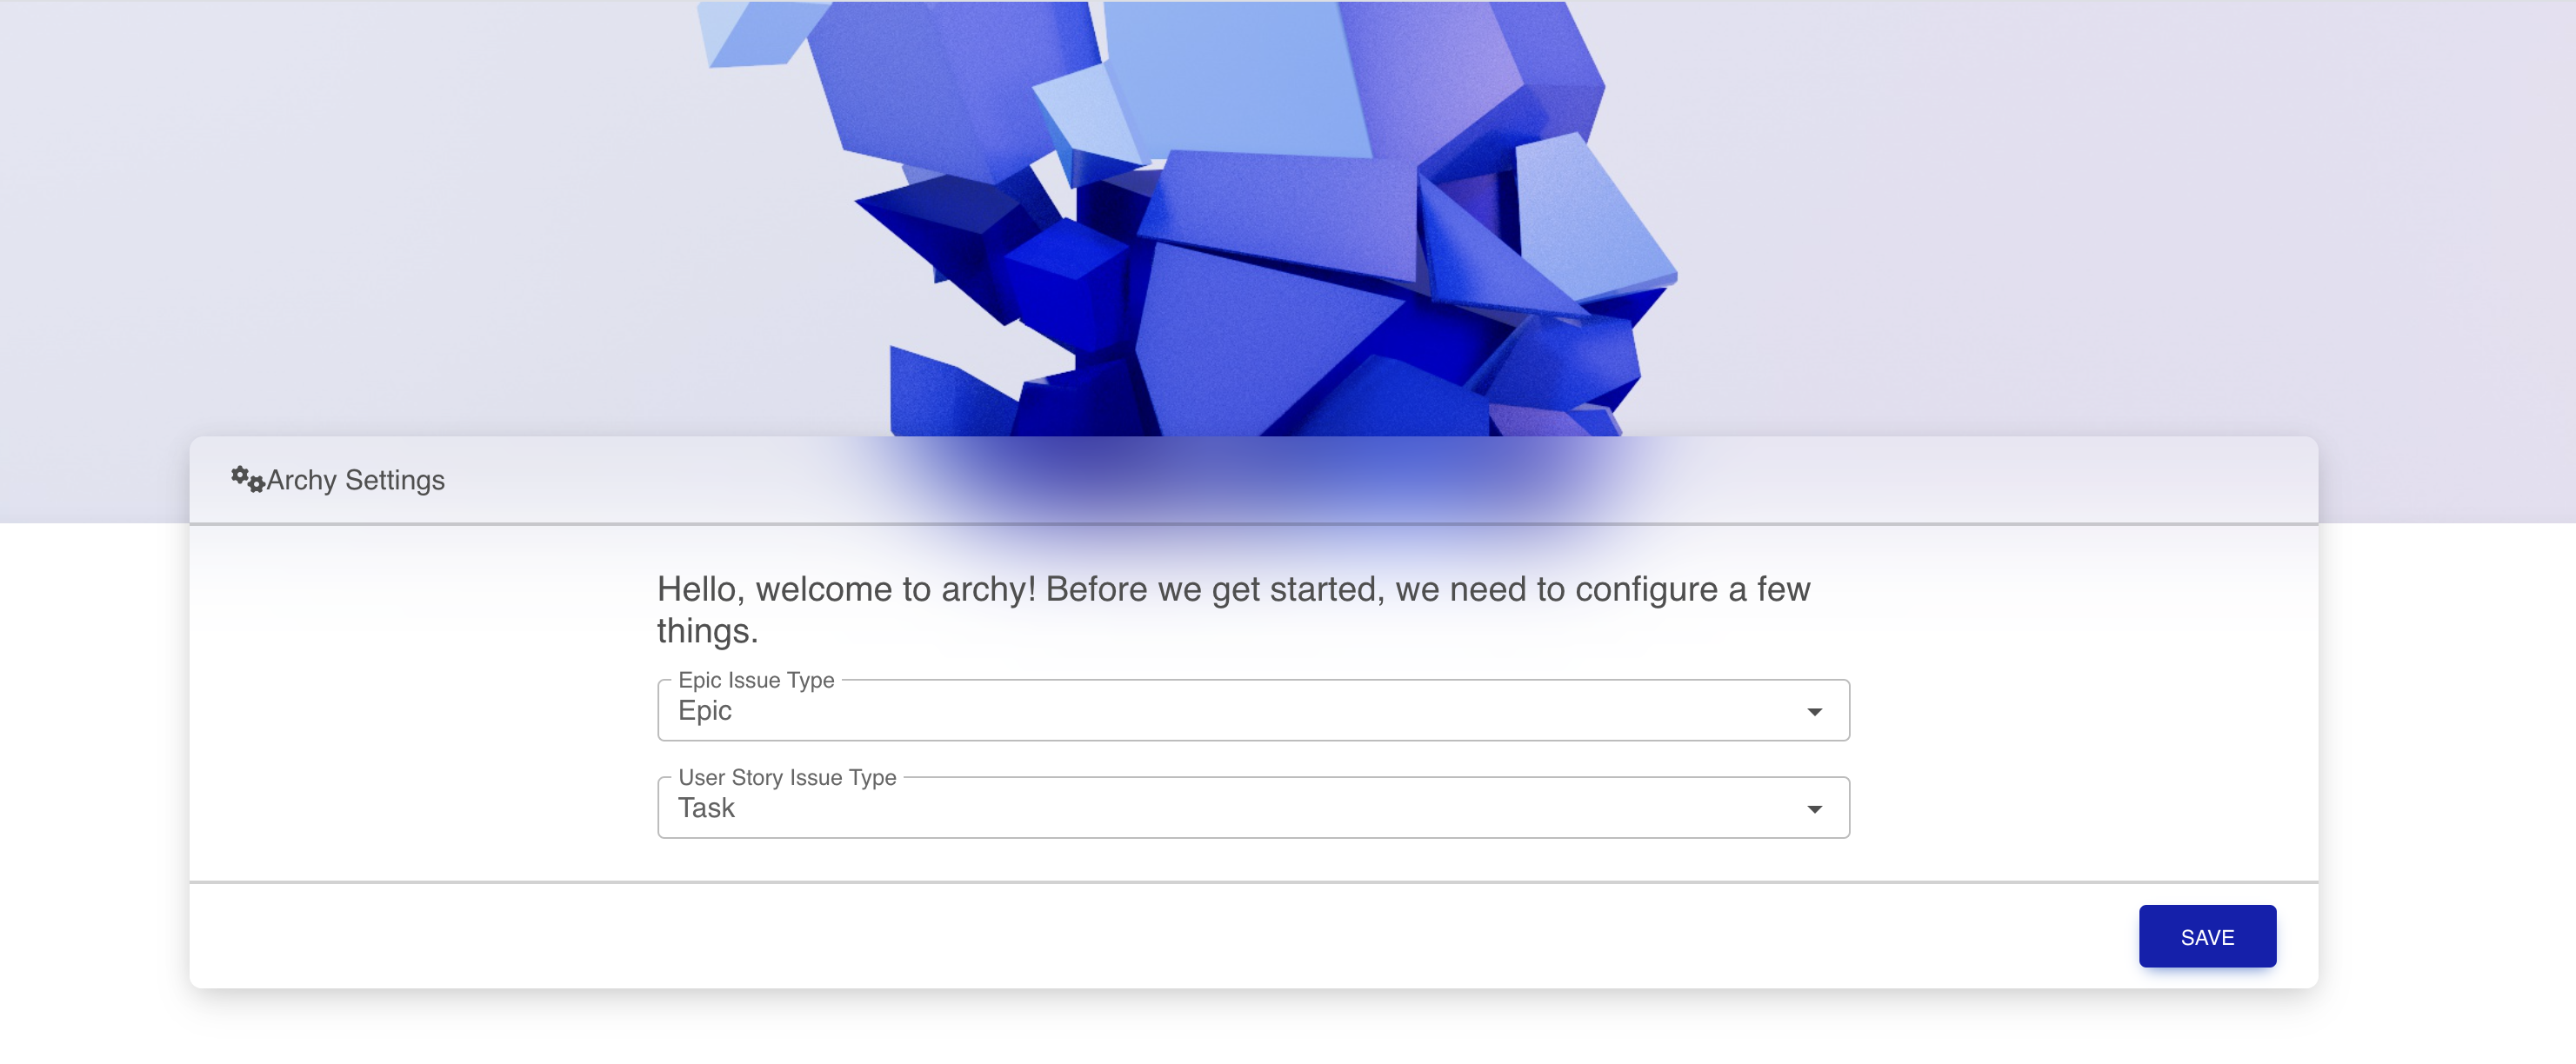
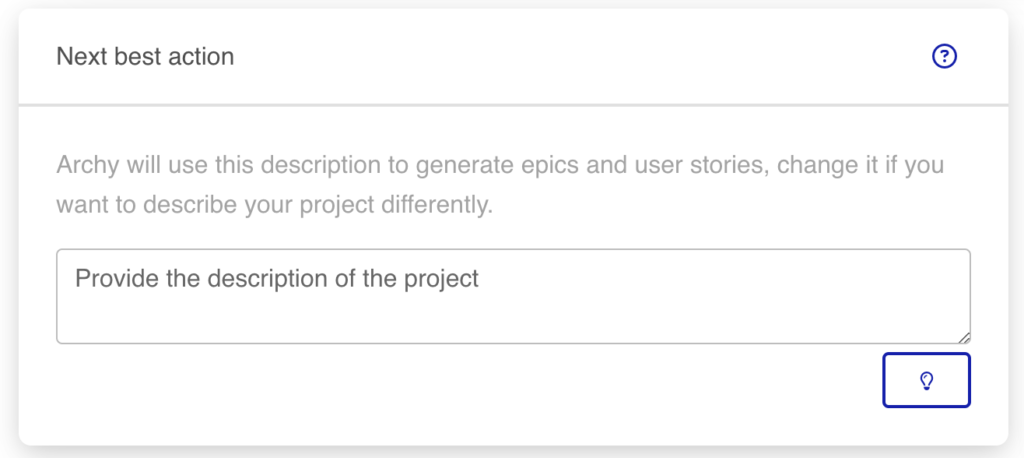
After entering project description click on lightbulb icon and Archy will generate initial list of epics and user stories for your project.

Each epic can be expanded to show user stories that are part of that epic. More on epics and user stories can be found on this article on Atlassian, and all over the internet.

On expanding an epic you will see user stories for this epic that Archy has suggested.

How to get more out of epics ?

There are different features that enable you to create and manage your epics during project setup. These functions are available on top of epics list in a button bar.

Select/deselect all

Function of this control is to select or de-select epics. Selecting epics means that you need to perform certain actions on specific epics. This controll allows you to easely select all epics. Or de-select all.

Add new epic

Epics can be generated by Archy or added manually. If you want to add them manually, this is the control to click. When you click it you will be given a form to enter epic title and description.

Generate additional epics

Archy will, based on project description and epics currently created, as well as user stories, create additional epics and user stories to complement your backlog. This is why it is important to have clear and detailed project description. What will additinonally help you is to remove and refine epics and user stories already suggested.
You can look at this process as backlog refinement, from product owner perspective ( or product manager, for that matter ),

Re-generate epics

To replace existing epics with new ones, select epics that you want to replace and clieck on the icon "regenerate". This will create completley new ones that replace selected epics.

Refine epics

If you want to add more content and details to epic description, select the epics you need to refine and click on the icon "refine"

Delete epics

Select epics you want to delete and click "delete" icon. Easy-peasy.
Deleting epics will delete the user stories under this epic.